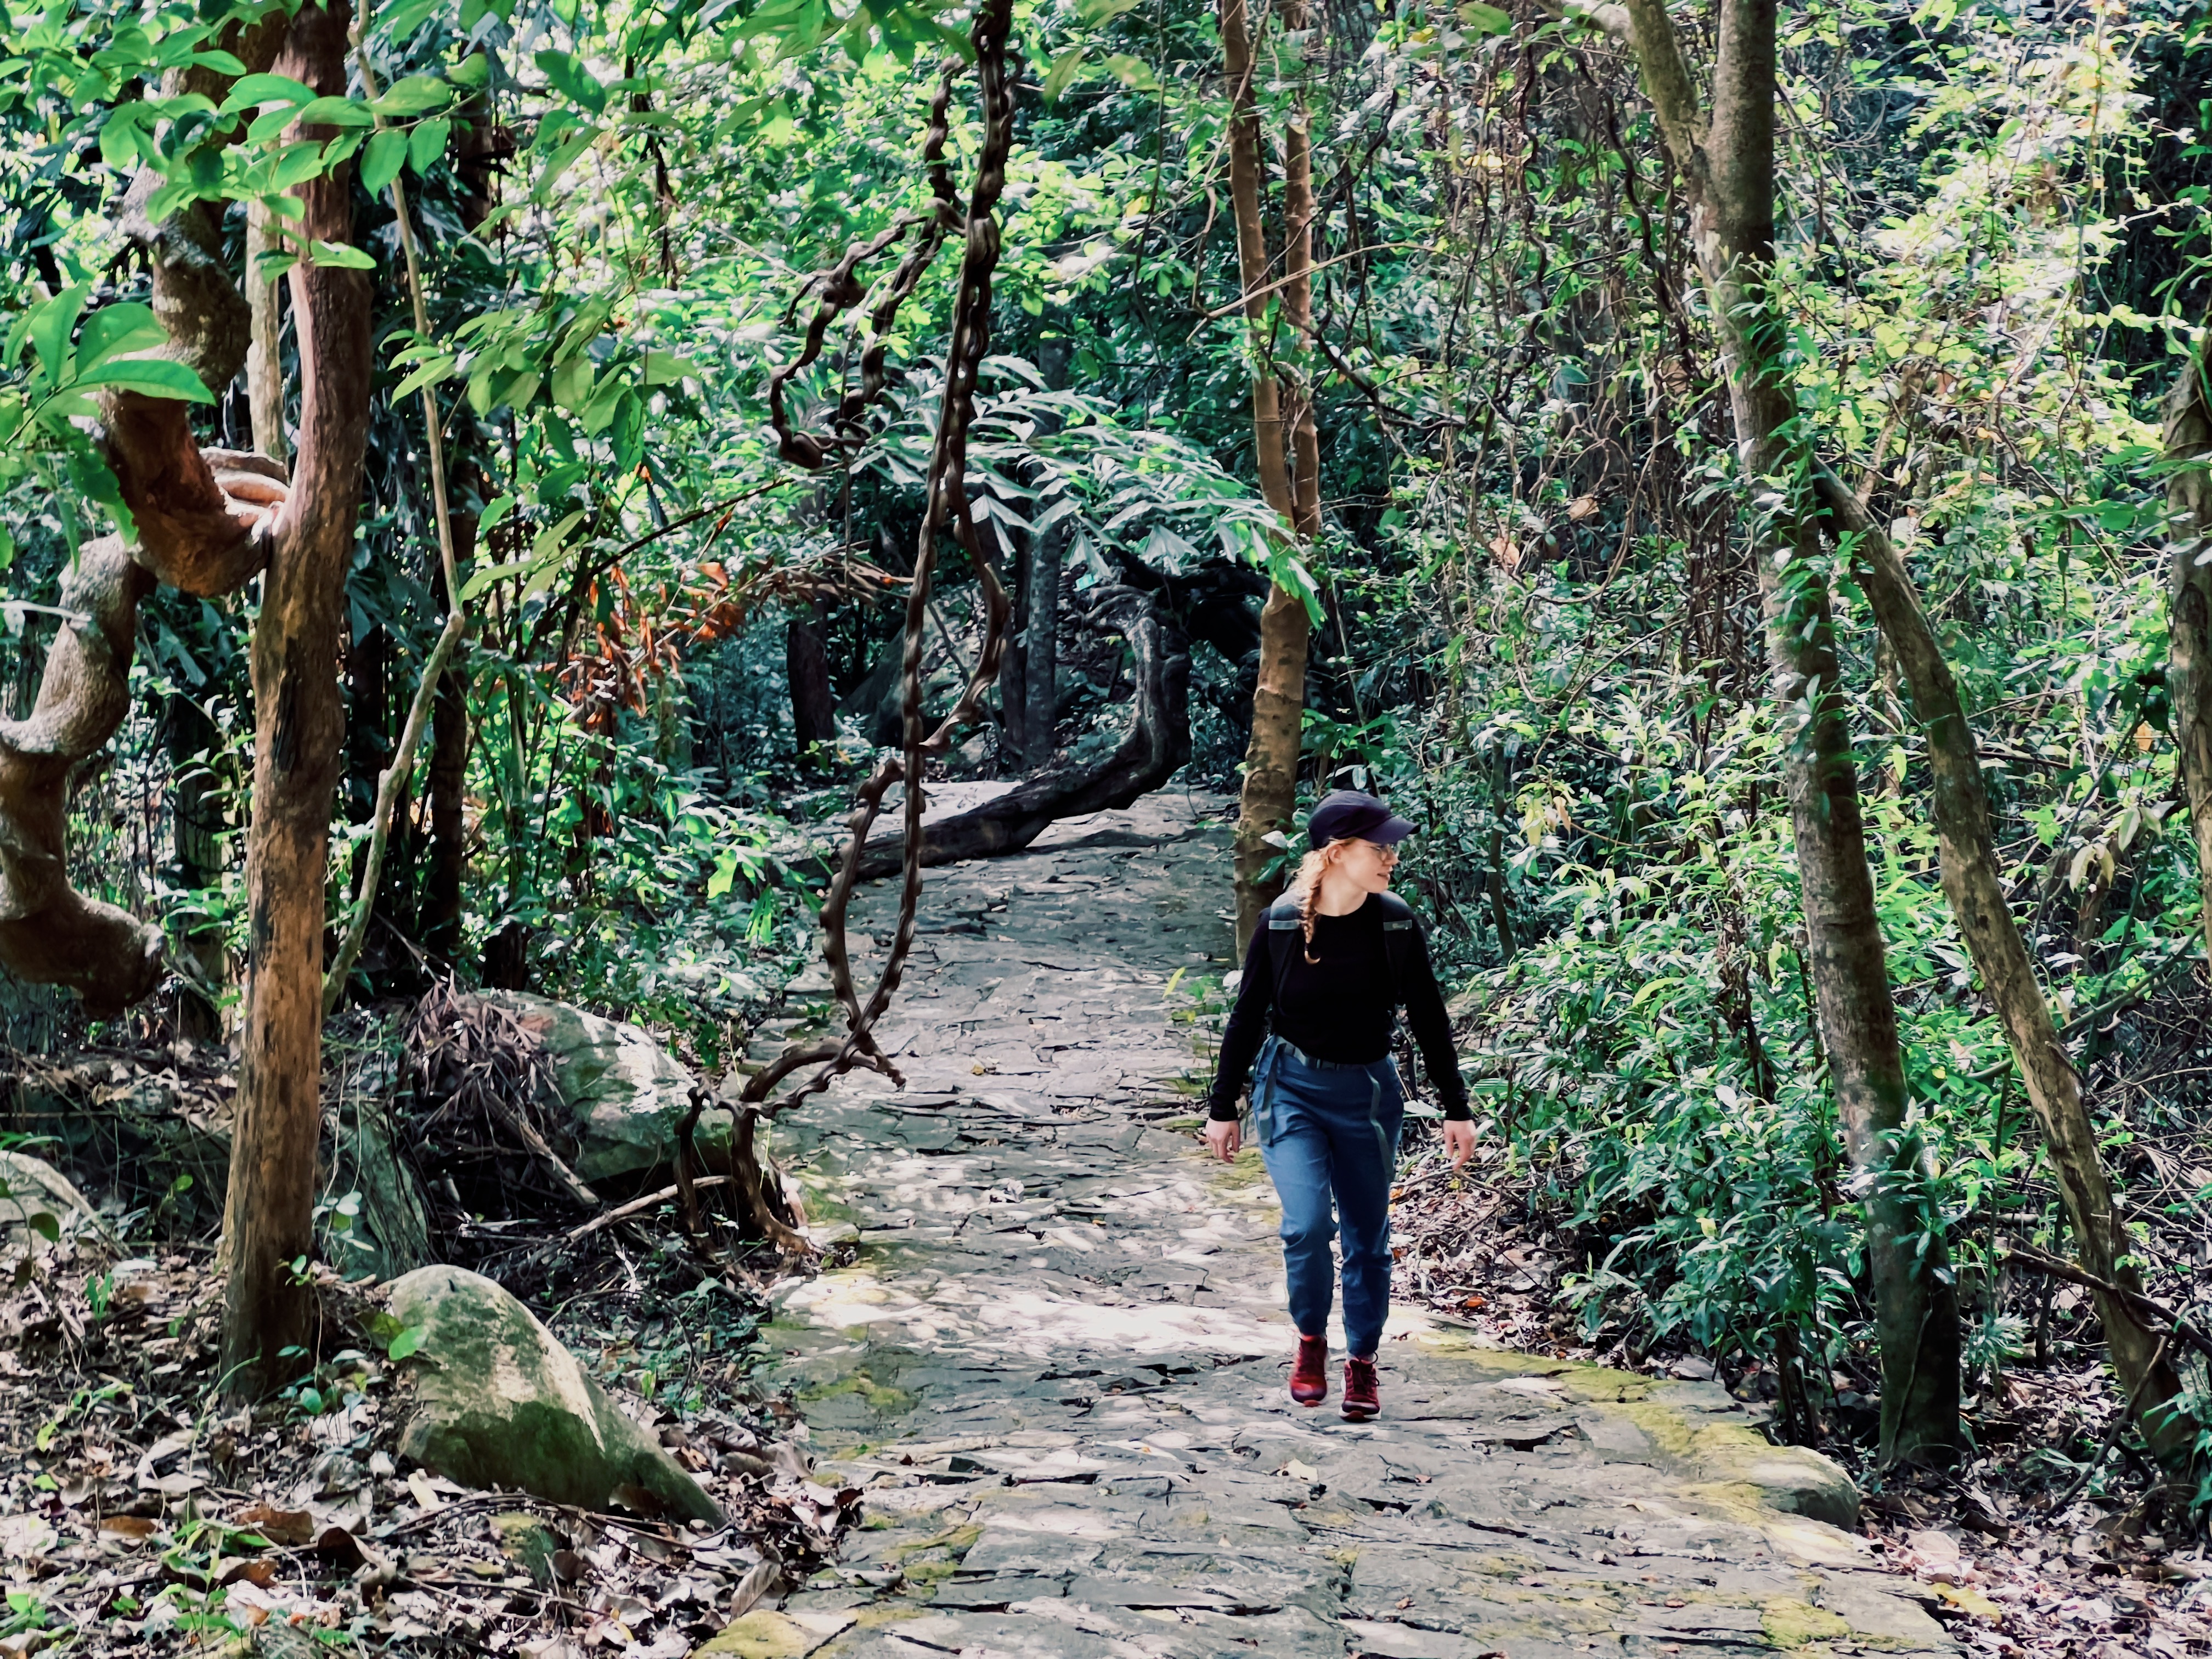
Hiking a long-distance trail was one of the best experiences I’ve made so far. It’s an incredible feeling to be immersed in nature all day while slowly progressing through various stunning landscapes.
Setting out on an adventure like this also requires quite some planning, though. To make this a little easier for you, I’m sharing my experiences and learnings on the Alpe Adria Trail. In this post, I want to focus on my food & drink equipment. I also created a full packing list here as well as a 2-week-itinerary to the Alpe Adria Trail, in case you want to dive a little deeper into this trail.
How to Best Bring Water on a Hike
Obviously, you‘ll need to drink and eat while you‘re on the road. Especially ensuring you bring and drink enough water is absolutely crucial. There are different ways to do so. You can fill up your water bottle from streams using different methods of filtration, like tablets or a filtering straw. Or you can simply pack enough water from your starting point. You could also plan ahead and fill your water bottle on camping sites or at restaurants along the way. How much water you need depends on a lot of factors. Daily temperatures, wind, the difficulty of the hike, your body weight, personal preferences, and so on. There‘s a lot of „truth“ and „wisdom“ out there in various hiking communities. I‘m no expert or physician, so I won‘t give any advice on how much water you might need. I can only share what worked well for me and what I learned thorought my experiences on various long-distance hikes.
I normally drink quite a bit of liquid before I start my hikes. Around 0.3 liters first thing in the morning. Than, either a large mug of tea (which I prefer) or coffee with breakfast if I have any before taking off. On an 8-hour hike with medium difficulty, I normally drink anything between 0.75 and 2.2 liters, depending on the day, route, temperature, and my day form.
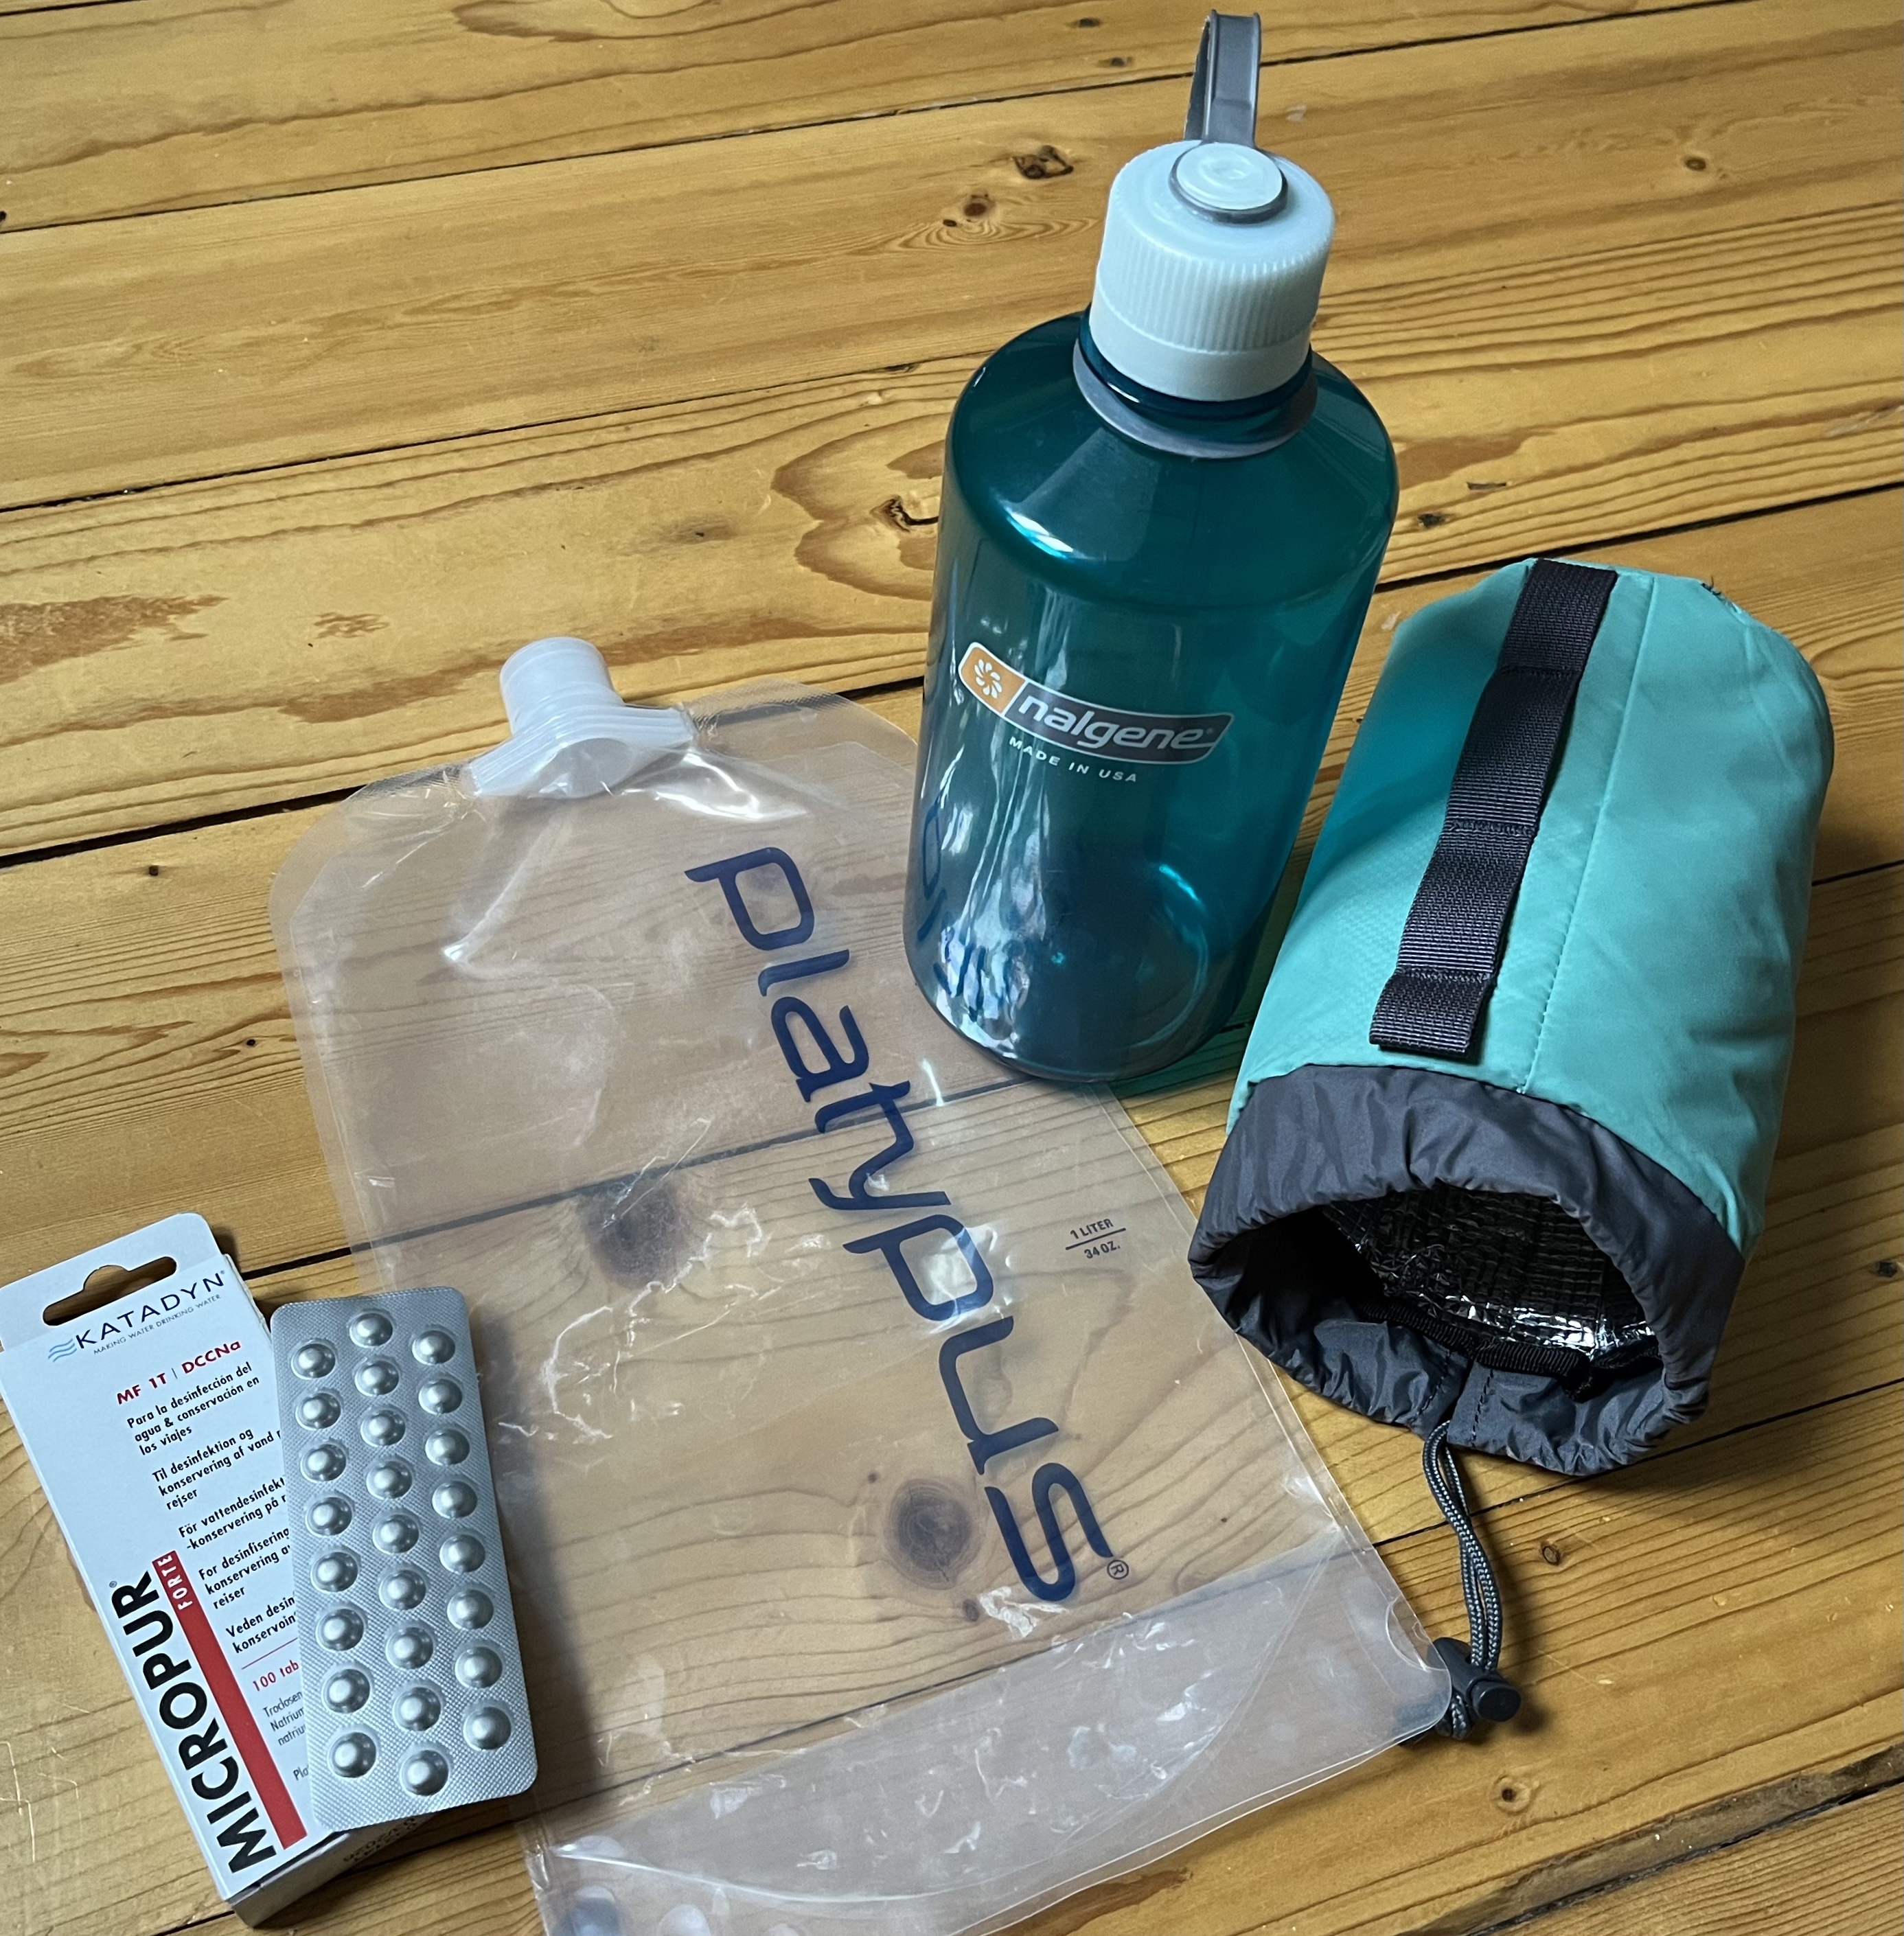
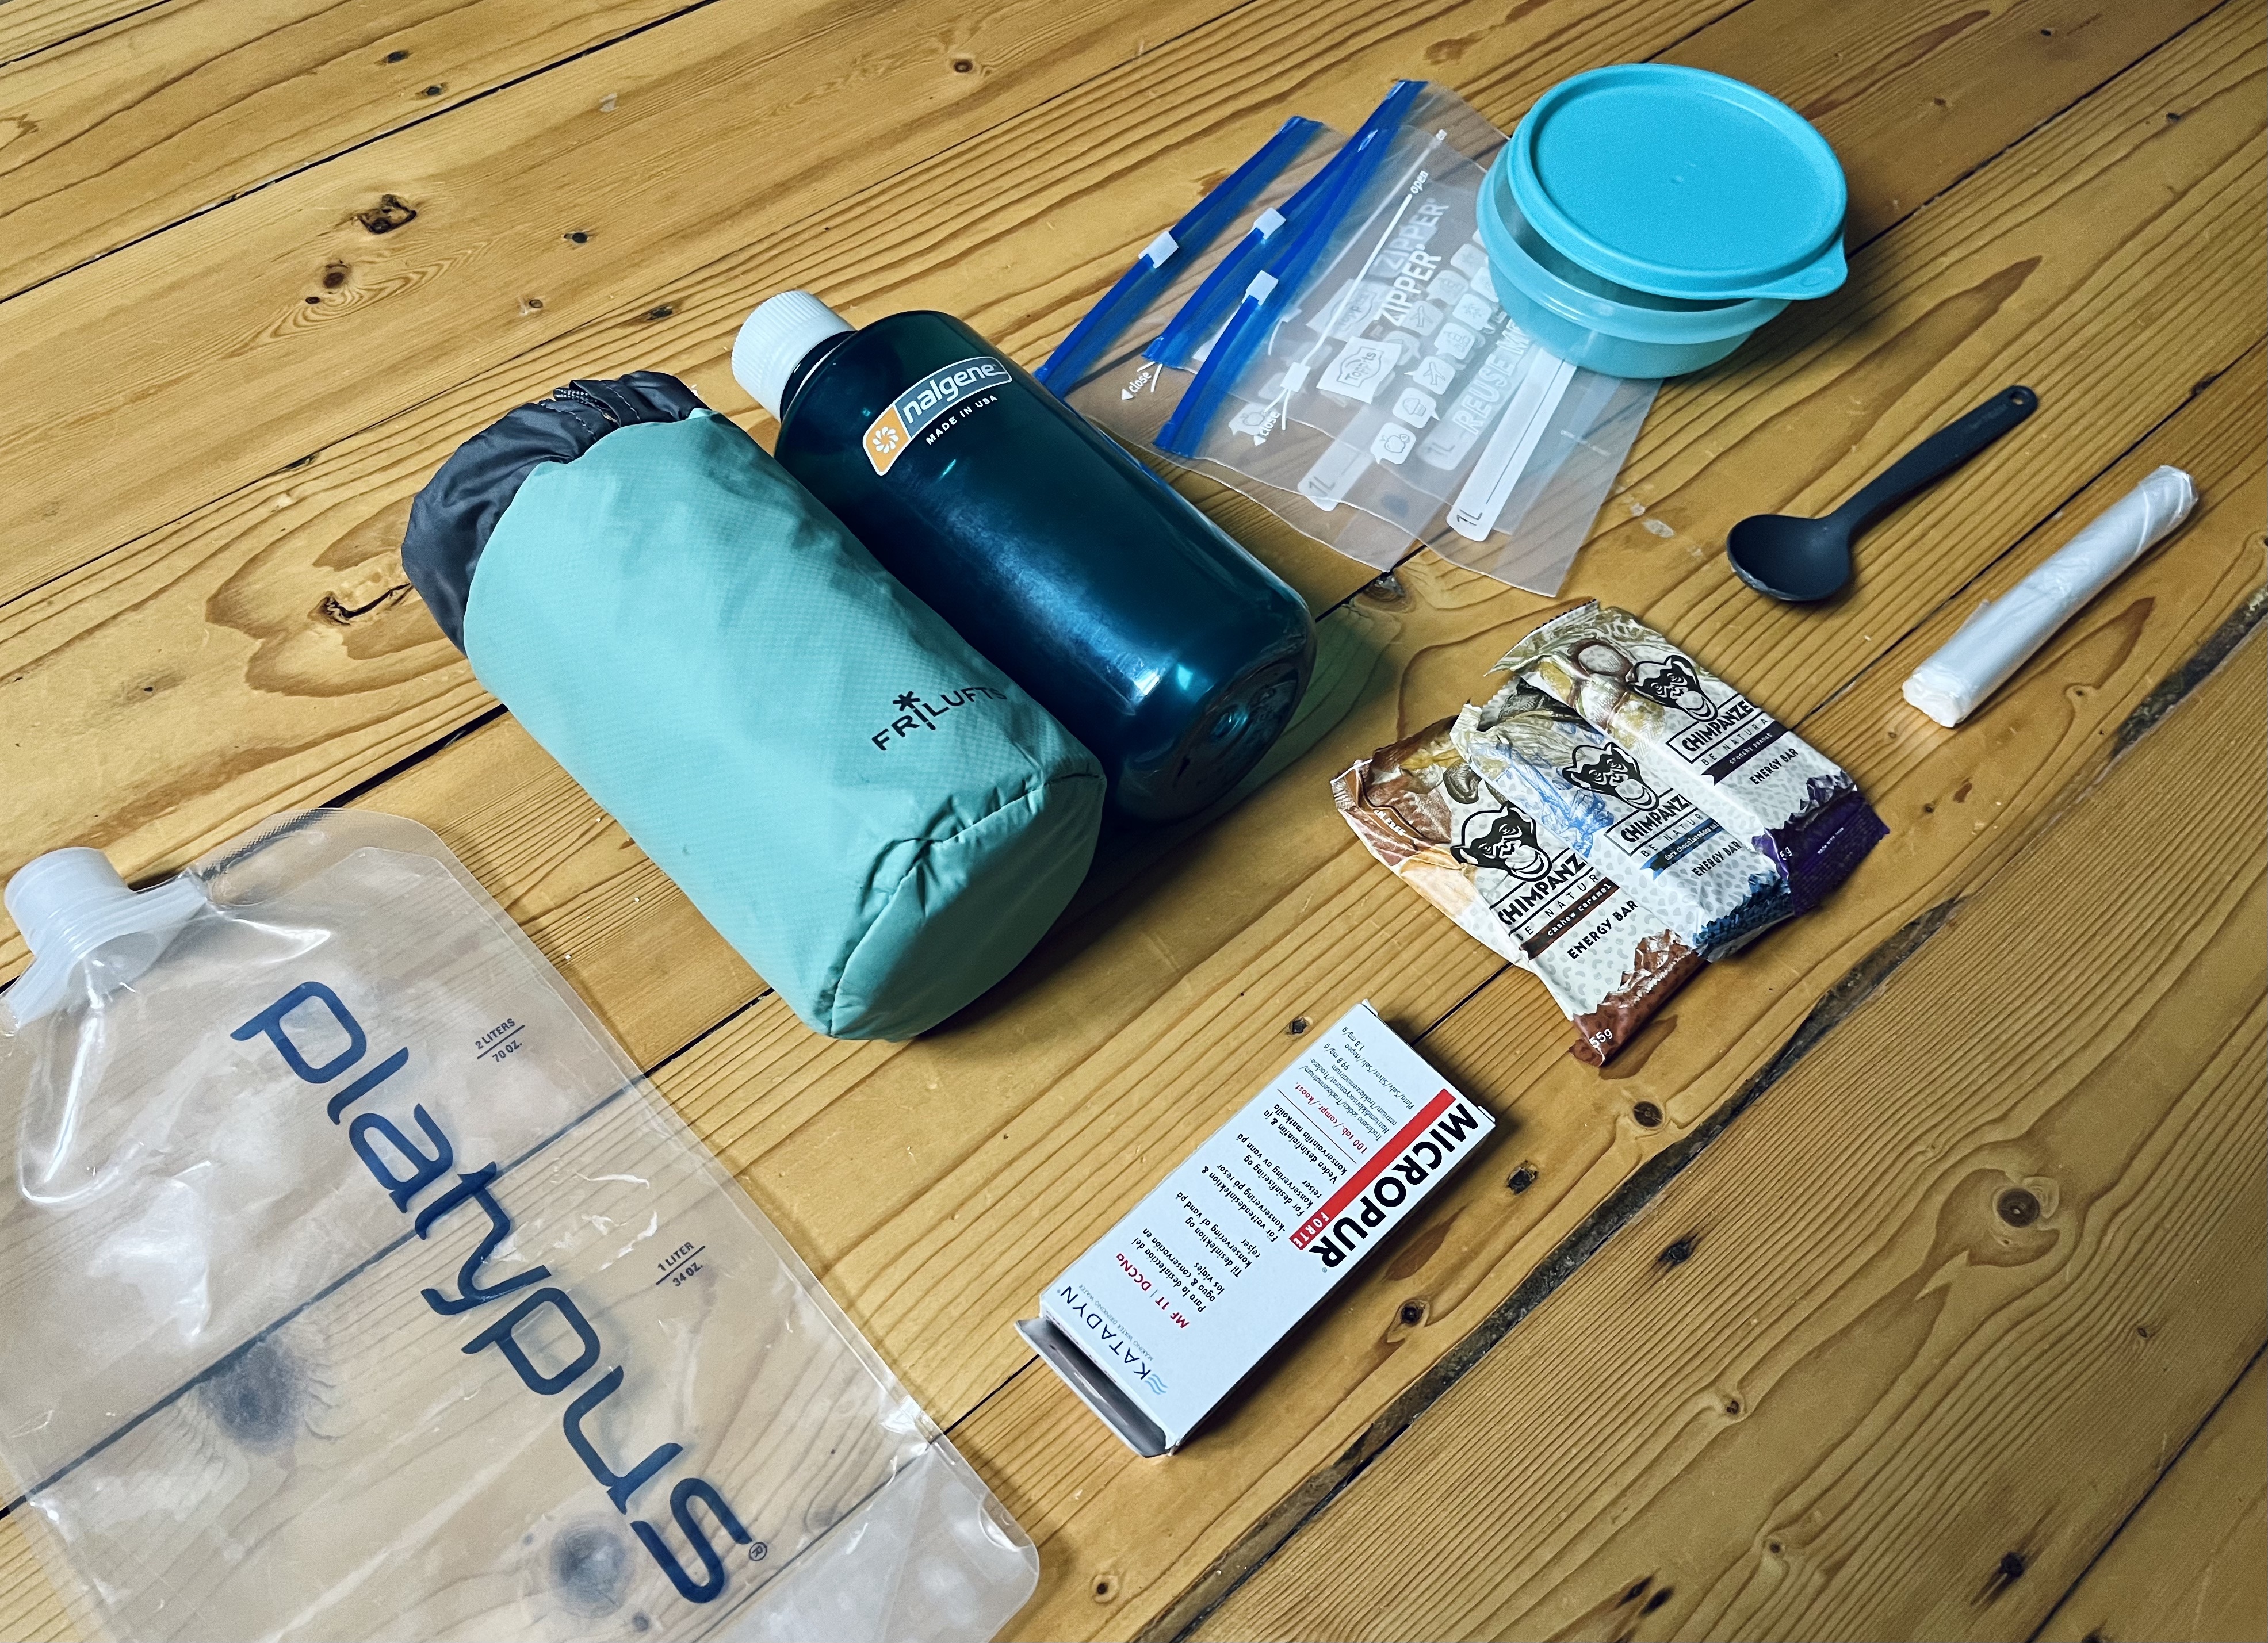
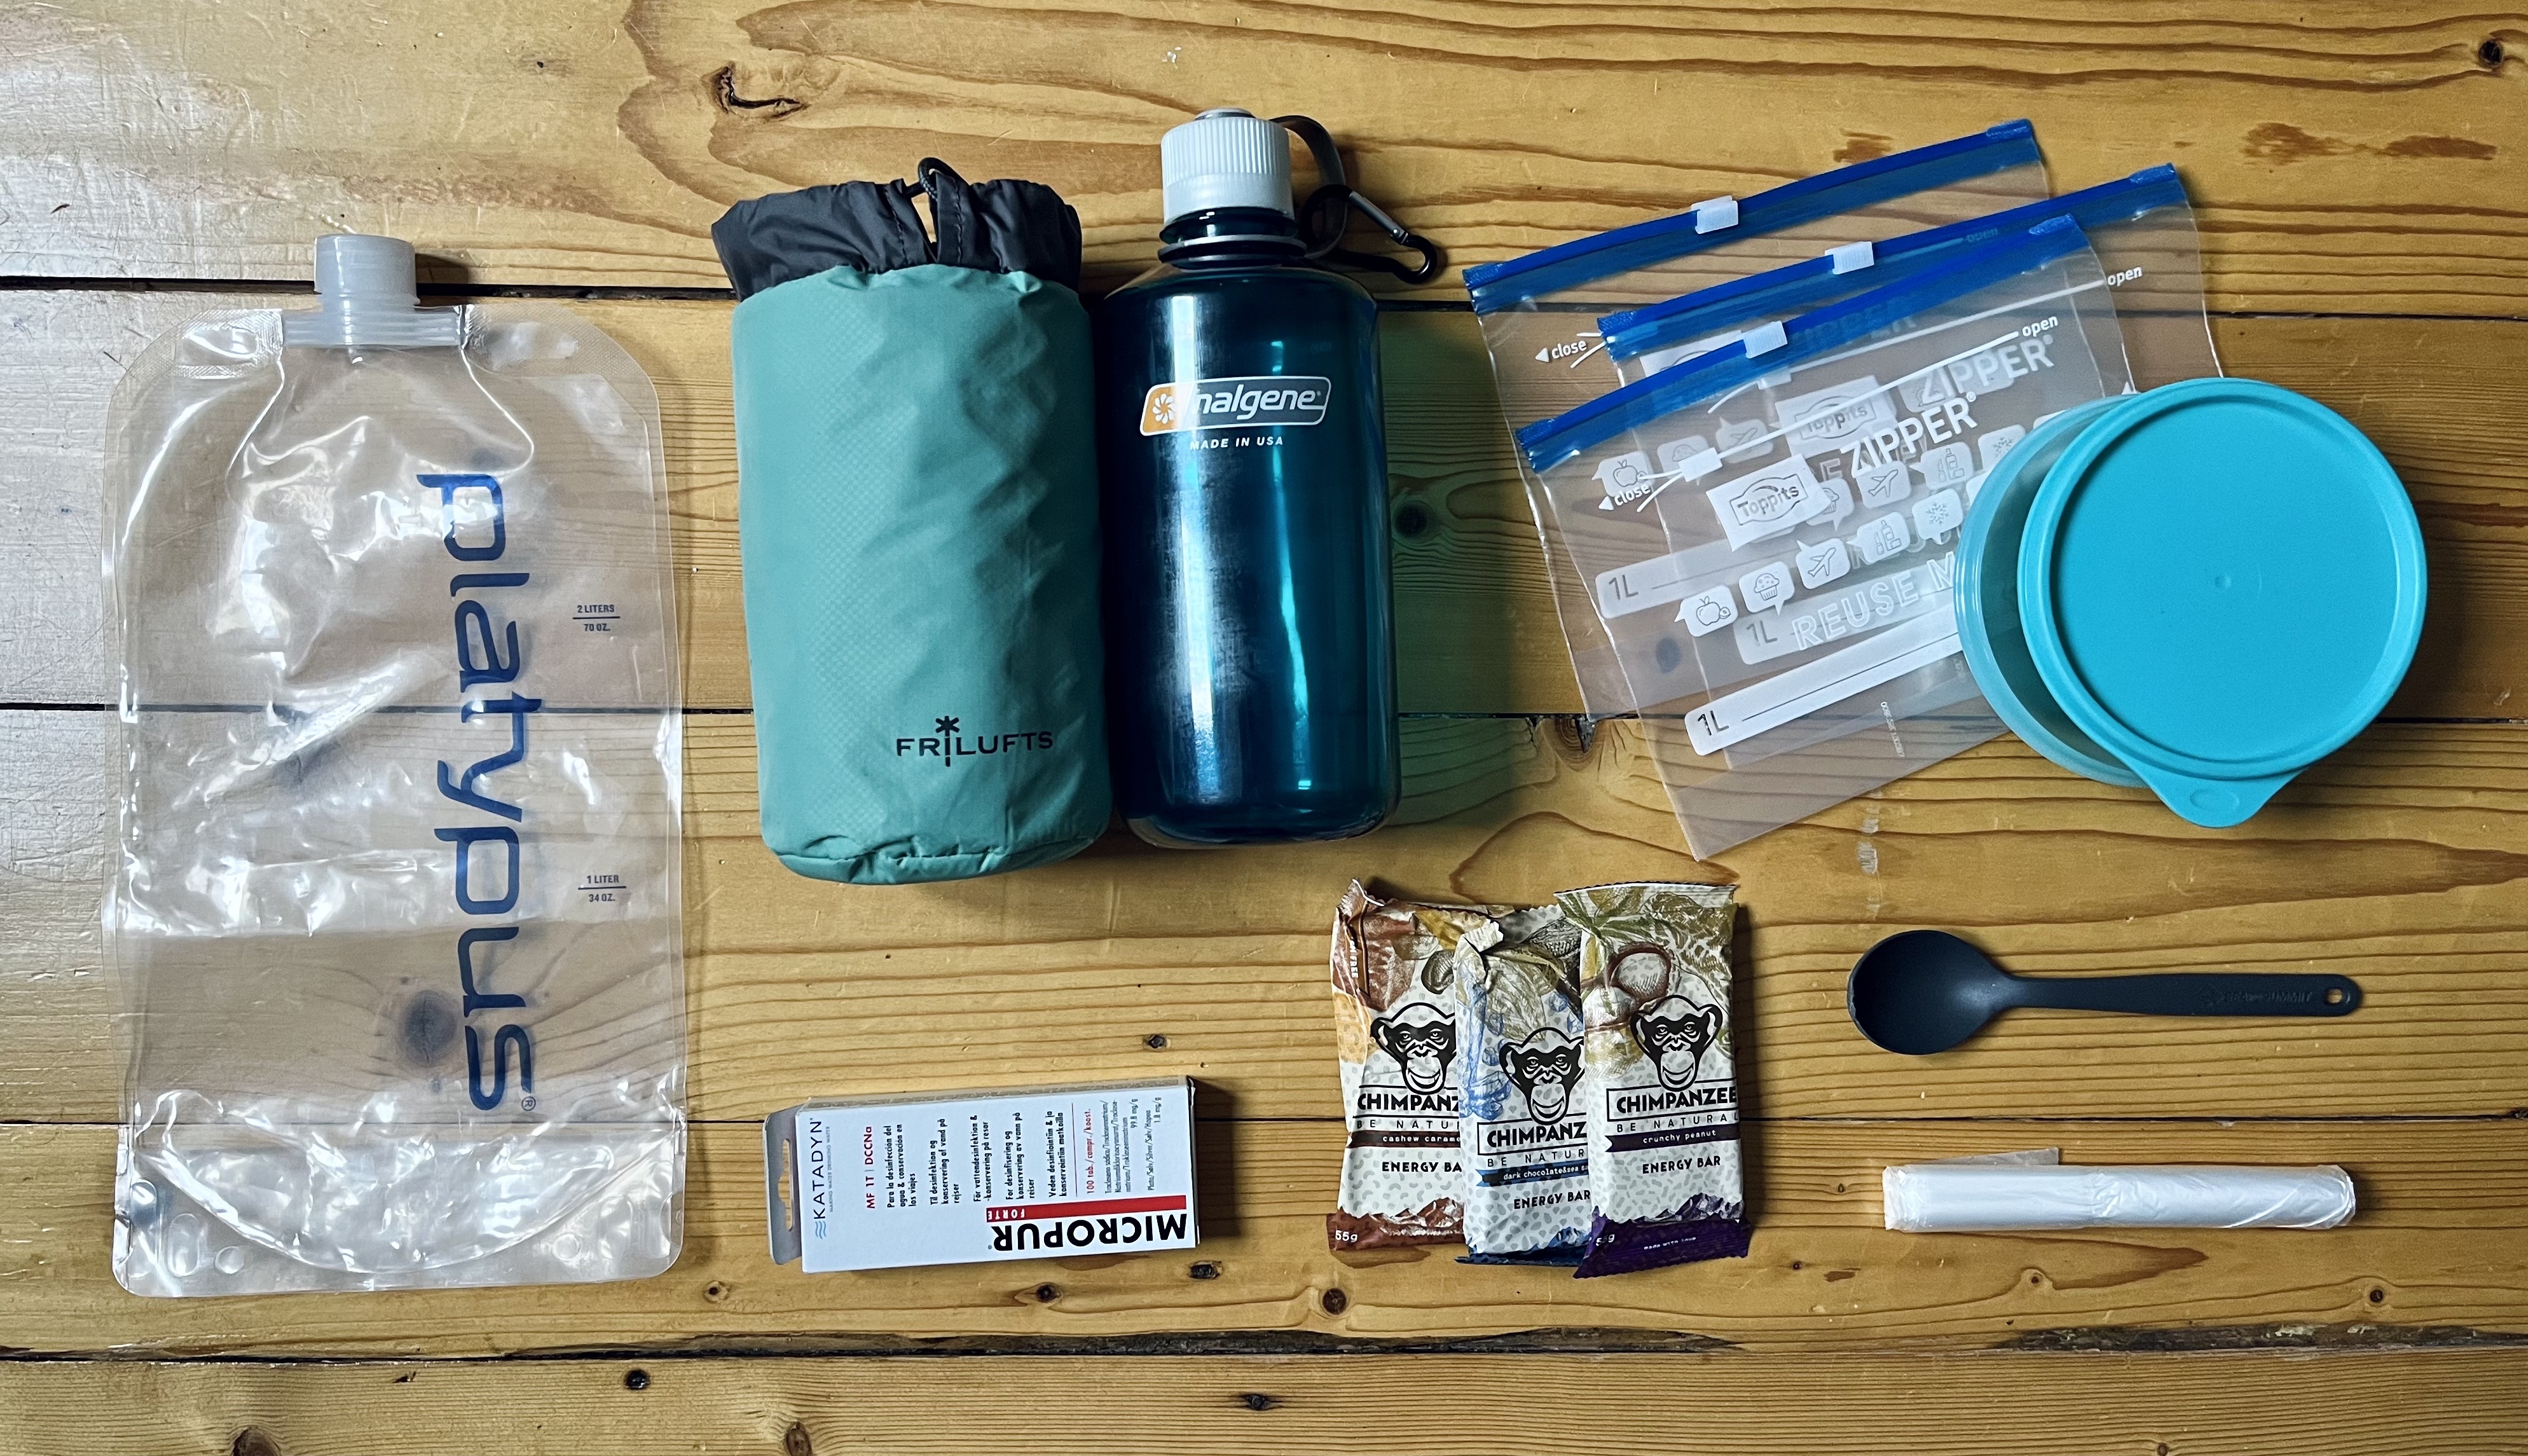
My „water set-up“ consisted of the following items:
1. A large, foldable water bottle (2L)
I kept this on the back of my backpack (the compartment that‘s actually made for hydration bladders). On days with less sun & heat or less long/demanding hikes, I only fill it with an emergency reserve of around .3l of water. On hotter days or longer, more demanding hikes, I fill it all the way. I then use it to refill my normal water bottle. I prefer this over a hydration bladder, just because I personally prefer drinking from a bottle rather than the tube from a bladder. I also think it’s easier to clean. I use the 2L foldable water bottle from Platypus, which I’ve only made good experiences with so far. It’s sturdy, yet easy to fold, and doesn’t pass on any plastic taste to the water.
2. A normal, 1L water bottle
I would never start a hike without my regular 1L water bottle being fully filled. I use the 32oz (1 liter) Narrow Mouth Sustain Water Bottle from Nalgene and love it. It‘s convenient to drink from and fits into the side pocket of my backpack very well. Nalgene bottles are also generally long-lasting, high-quality, and BPA/BPS free. In addition, their new models are made from 50% recycled materials. What I most appreciate about this bottle is, that it can be filled with boiling hot water. I do that whenever hot water is available to pack in the morning. I prefer to drink warm water on hikes because it‘s easier to digest and your body doesn‘t need to waste any energy on bringing the water up to body temperature before processing it further. It might take a little getting used to but I‘d never want to go back to freezing cold water ever again. In order to keep the water warm for a while I got a sleeve for the bottle which was one of my favorite pieces of equipment. I‘ll tell you why below.
3. An insulation sleeve for the water bottle
I just love this little fella. It‘s so simple, yet so brilliant. It keeps water warm for a solid 3-5 hours (depending on outside temperatures). The good thing is that (unlike a thermos flask) it does release heat relatively quickly, meaning you can drink the water quickly as well - without burning your mouth that is. This also means, your water bottle can function as a hot water bottle for cold nights or to relieve stomach pains, cramps, sore muscles, etc. Of course, it can also be used to keep cold water or any lunch packages chilled (although not for too long on really hot days, but hey, better than nothing I guess).
4. Water-purifying tablets
I figured these would be the best compromise to help me out in an emergency. If I run out of water along the way, I’d be able to fill up my water bottle on a stream, pop in a tablet, wait for an hour and have drinkable water. In case the water is really dirty I could use my headband to filter the water from larger particles first. Another plus: they weigh almost nothing and take up no space. The downside is, that the taste isn’t the best and it takes a while for the water to purify. So if I was hiking in the complete wilderness, I’d probably take both a filtration system like a LifeStraw as well as purifying tablets. But for a long-distance hike that doesn’t go completely off-grid, I would rather opt to reduce carrying weight as much as possible.

How to Pack Food on a Long-Distance Hiking Trail
In terms of food, I wouldn’t be too worried. Firstly, in a real emergency, you can go a long while without food (which isn’t true for water). Secondly, it’s surprising how little food you really need. I used to worry quite a bit about food, but it was actually never a problem. Thirdly, depending on the trail you’re hiking, all you need is proper planning. For the Alpe Adria Trail, basically, every stage starts and ends somewhere where you’ll be able to get food. Either in a restaurant or a store. Most accommodations even allowed me to pack some lunch. So my equipment here is mostly focused on packing and carrying ready-to-eat food, a.k.a. a sandwich. That’s obviously very different from a hike where you want or need to cook yourself along the way.
1. A few zipper bags & trash bags
I packed a few zipper bags, some sandwich paper, and elastic bands to pack lunch whenever I could. The zipper bags are also very versatile and can hold various types of food, carry some water from a stream somewhere in an emergency, seal any leaking toiletries, and so on. I also always pack 2-3 small trash bags. I always focus on leaving no traces or trash behind in nature. Carrying a trash bag makes this a lot more convenient, especially if you need to help a fellow hiker out who has accidentally dropped something without noticing and you can pick it up for them. Again a multi-purpose item, e.g. to sit on if a bench is still wet from a recent downpour.
2. A small Tupper box and a spoon
I love having some muesli from nuts, fresh & dried fruit, and oats with a little bit of plant-based yogurt for breakfast when I’m hiking. I feel like it gives me much more energy and stamina than any sandwich can. In quite a few hotels, I was able to pack some muesli as well as a sandwich instead of having breakfast (which was also nice because I love starting my hiking days very early with no breakfast at around 5am and then having a first food break between 9 and 10 am). For this, it’s super useful to have a Tupper box (make sure it’s one that doesn’t leak) as well as a spoon. If you’re taking a pocket knife, there’s no need for an extra one and I’ve never had the need for a fork. And I just hate sporks. They are just so inconvenient. I don’t know how this 2-gram weight reduction can ever justify the immense discomfort from eating with a spork. It can’t be just me who feels that way, can it?
3. Some lasting, ready-to-eat rations
Generally, how much food you bring on the trip depends on where you are and how you choose your accommodation etc. On the Alpe Adria Trail, for example, you will not have a problem getting food. Each stage closes either in a village or at a hut where there will be several food options. However, on any hike, I always make sure to have a few energy bars and some nuts and dried fruit in my pack, just in case. That’s not just important for emergencies, but can also be a great booster for morale, if you’re having an especially tough day.
And that’s it! That’s my complete food & drink packing list on what I packed when hiking the Alpe Adria Trail. As I already mentioned, this is very specific to my preferences when hiking. But I hope it can still give you some inspiration and ideas on how to best set yourself up before setting out on your next adventure.
If you want to learn more about the Alpe Adria Trail, check out my blog post with some impressions from the trail.
I’ve also put together a complete packing list for hiking the Alpe Adria Trail in spring as well as my detailed packing guides on: